You can unsubscribe at any time.
You are signing up to receive the Smart Home Charge newsletter. Terms and conditions apply.
Access our FREE guide to home charger installation.
- Your FREE and exclusive interactive Go Electric guide
- The latest EV charger reviews
- New car releases and EV news
- App set-up guides and more electric car charging tips
Access our FREE guide to home charger installation.
- Your FREE and exclusive interactive Go Electric guide
- The latest EV charger reviews
- New car releases and EV news
- App set-up guides and more electric car charging tips
You can unsubscribe at any time.
You are signing up to receive the Smart Home Charge newsletter. Terms and conditions apply.
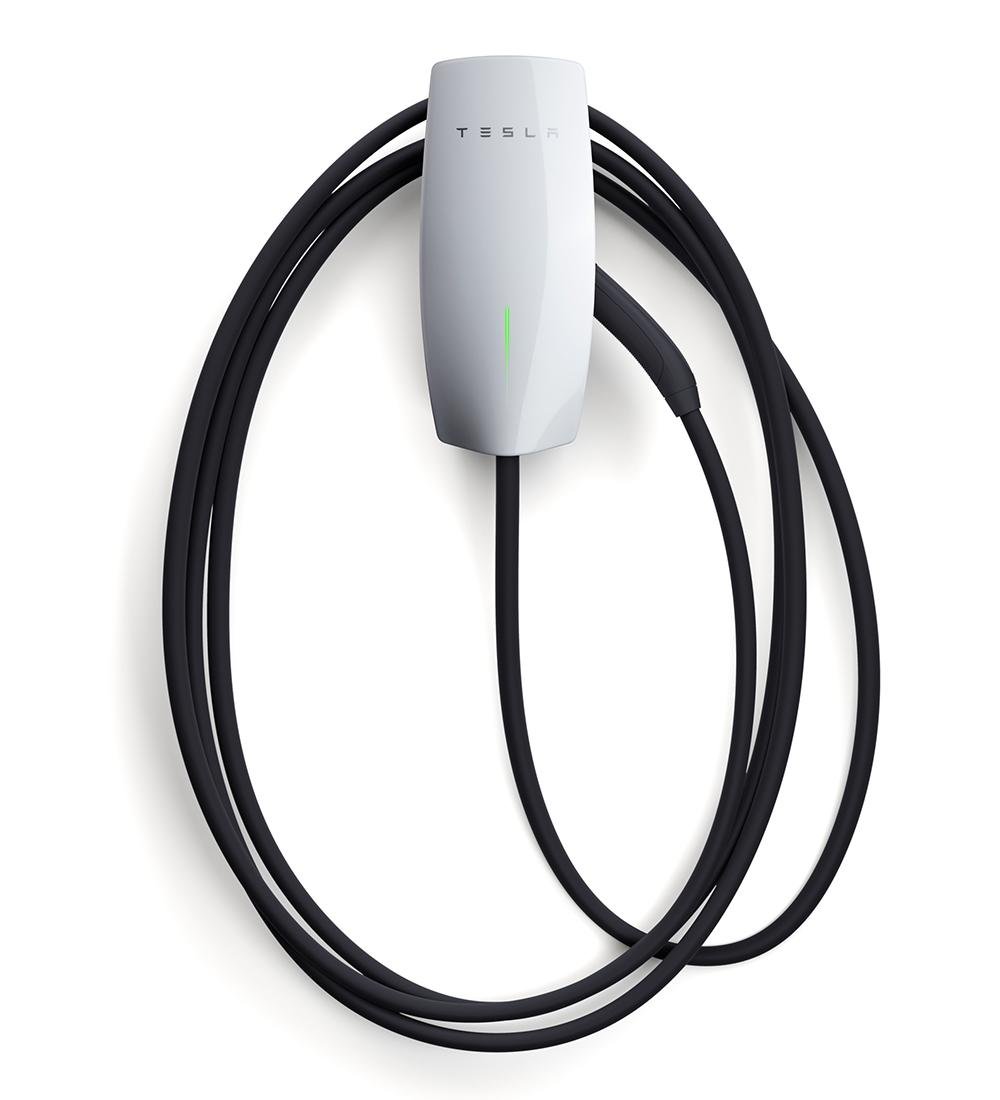
Get to know your Tesla Wall Connector
Open your Tesla’s charging port cover with the touch of a button
Setting up WiFi
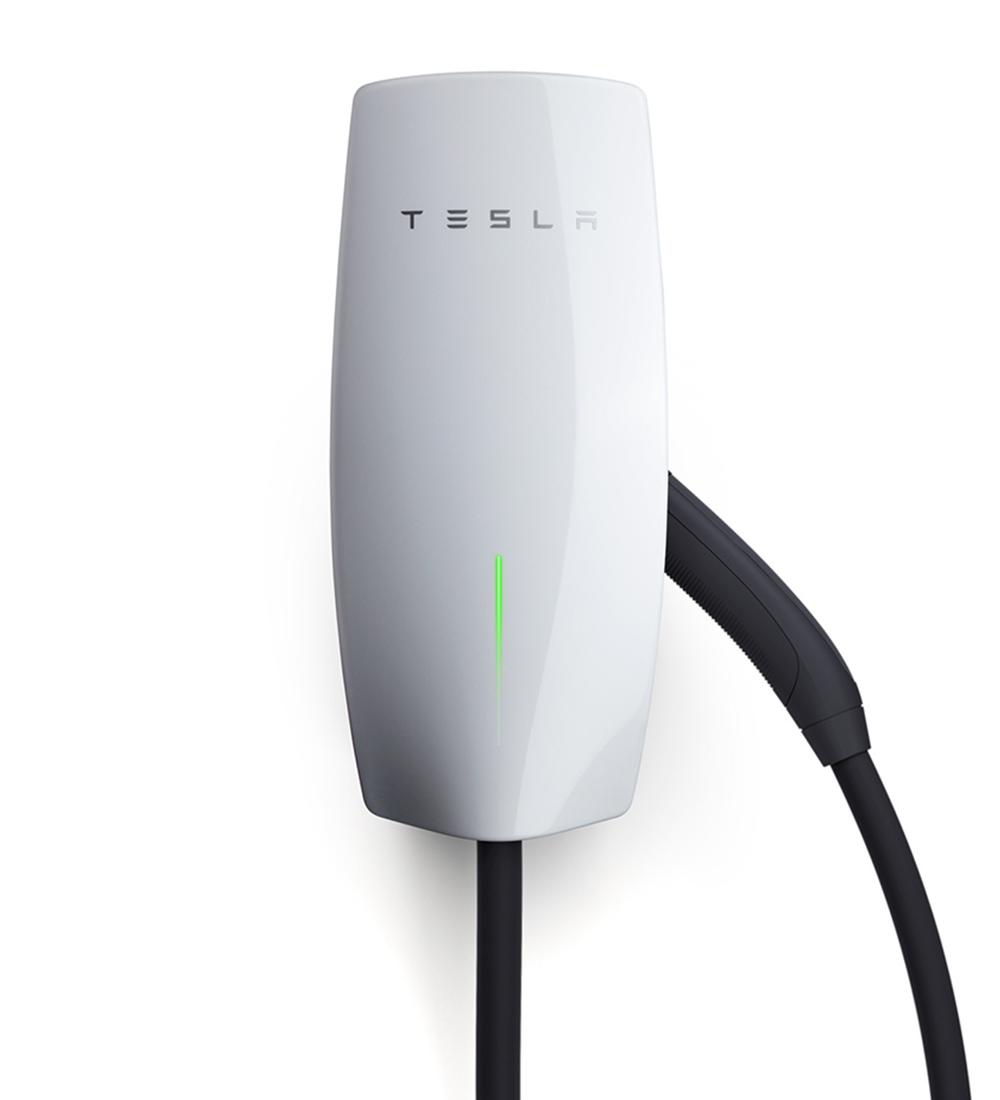
LED light
Setting up a charge schedule with non-tesla electric vehicles
Need to contact Tesla?


Tesla home charger isn't working? Try these steps first!
Is there power to the unit?
Can you charge your car at all?
Have you tried resetting the unit?
Have you tried this?
Tesla Wall Connector Advanced Troubleshooting
My charger is not charging my vehicle or it’s not charging my vehicle as fast as usual. There’s also three red blinking lights on the front.
The online features of my Tesla Wall Connector aren’t working. There are also four blinking red lights on the front of the unit.
The LED on the front of my Tesla Wall Connector is glowing solid red and not charging my vehicle
The problem with my unit is not listed on here or the advice given has not solved my issue
Step 1: Check the charger
Customers should receive their Tesla Wall Connector charger before installation day. It’s good to check the contents inside the box to make sure there isn’t any damage and to check the correct product has been sent.
In the box you should see:
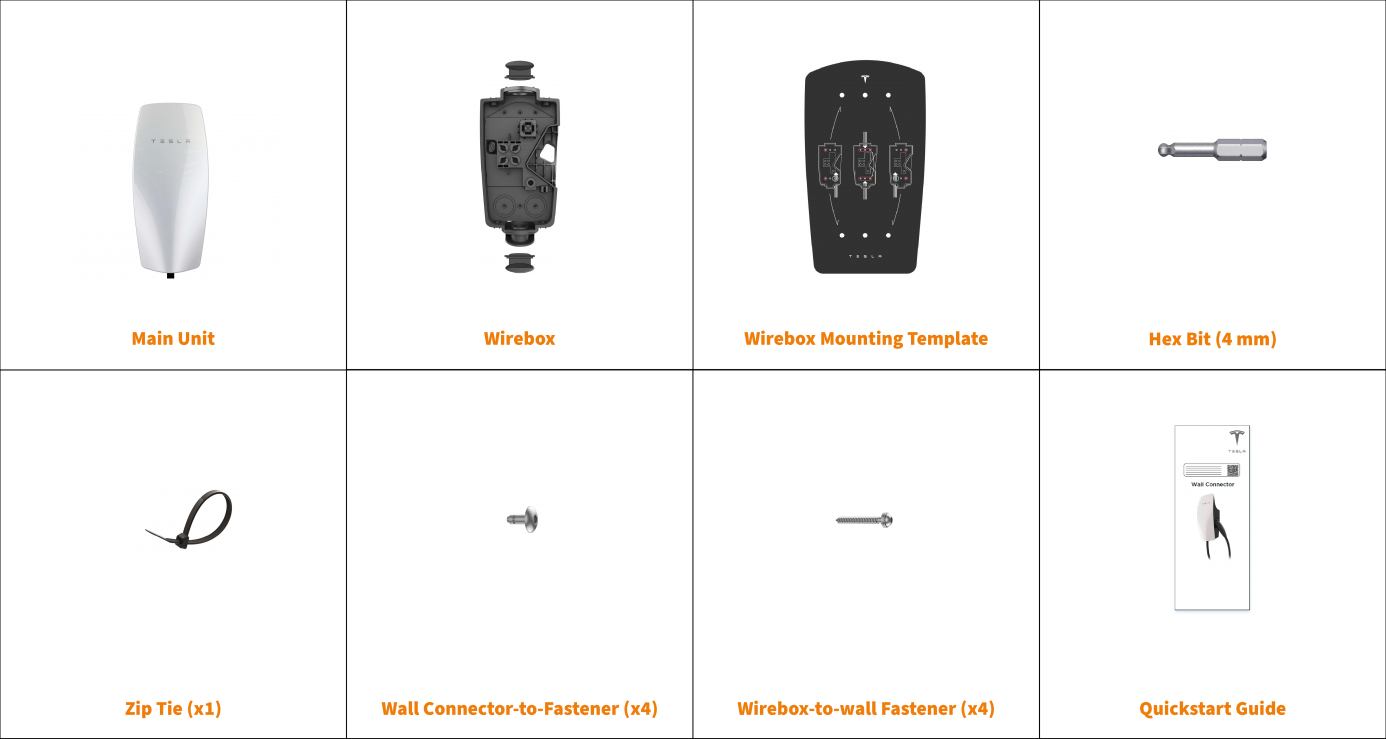
Once the Tesla Wall Charger is in your hands and you've checked that everything that should be in the box is in the box, let us know it has arrived safely. You do this by clicking on the “My Charger Has Arrived” button in the email we sent you. This is important and lets our system know we are one step closer to booking your installation. Knowing you have the correct charger also means we can book you in for installation and allows us to resolve any issues (if there are any) before installation day.
Step 2: Set-up the WiFi (Tesla Wall Connector 3rd generation only)
Connecting the Tesla Wall connector to the Tesla App
Download our FREE Go Electric guide to home charger installation.
- Your FREE and exclusive interactive Go Electric guide
- The latest EV charger reviews
- New car releases and EV news
- App set-up guides and more electric car charging tips
You can unsubscribe at any time.
You are signing up to receive the Smart Home Charge newsletter. Terms and conditions apply.